Installing an eSIM takes about two minutes. The only rule worth remembering: install at home, switch on at your destination. That way the download happens on reliable Wi-Fi, and none of your plan's days are used before your trip.
Before you start
- Connect to Wi-Fi. The eSIM profile downloads over the internet.
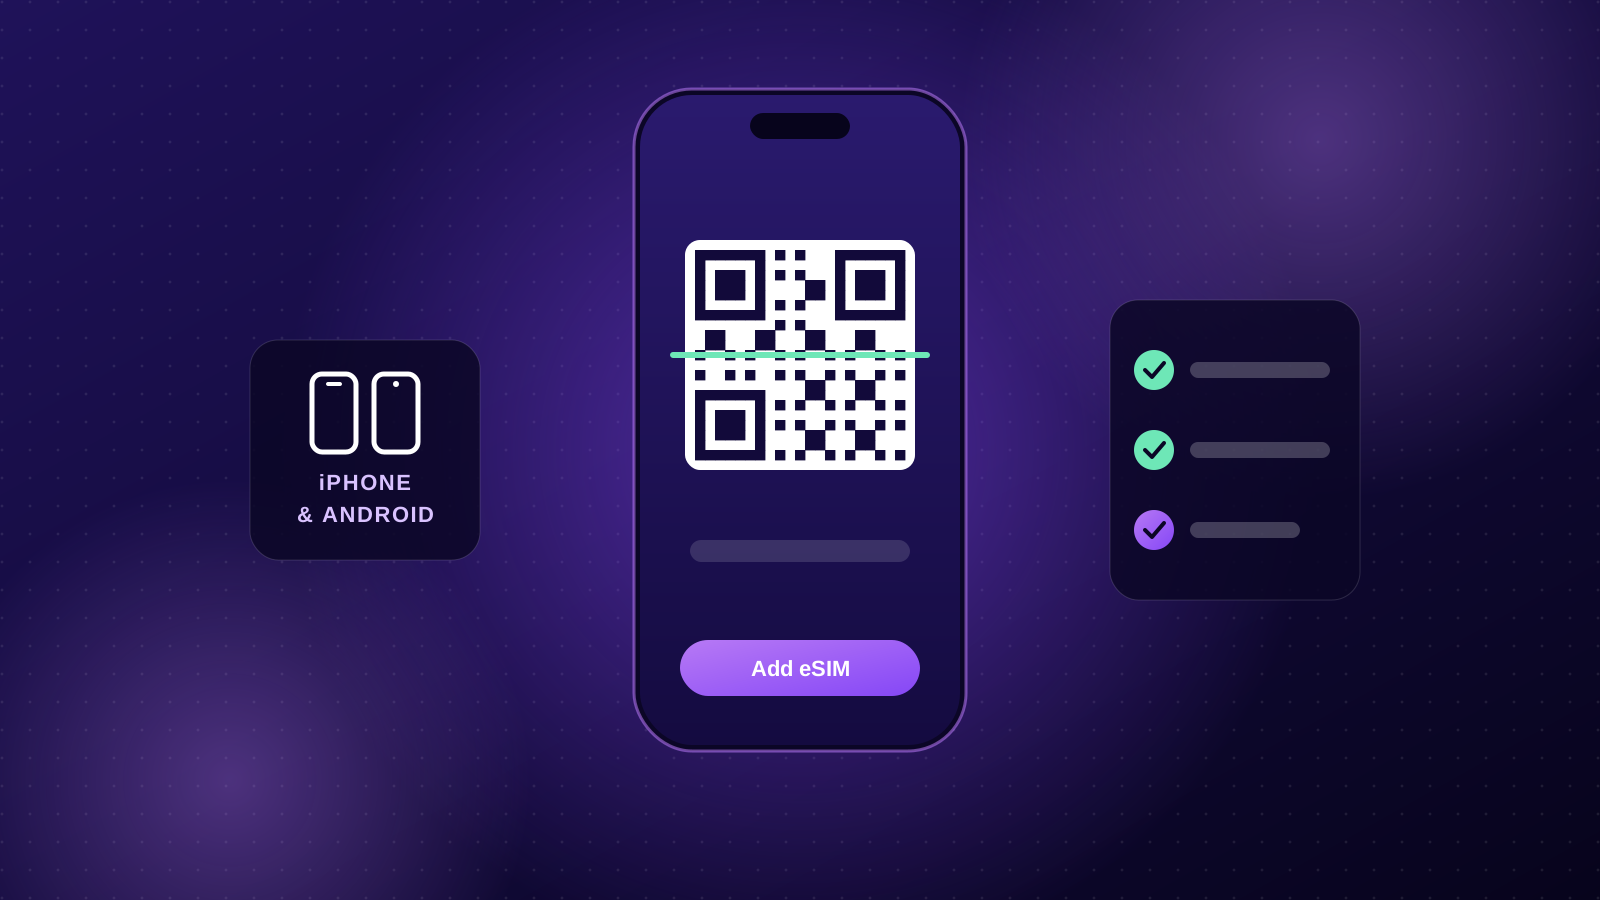
- Have your QR code ready on another screen (a laptop, tablet or printout). Your phone can't scan a code shown on its own screen, although on recent iOS versions you can long-press the QR image in Mail instead.
- Check your phone is unlocked and supports eSIM. Not sure? See Does my phone support eSIM?
- Don't delete the eSIM once installed. Most eSIM profiles can only be installed once.
Shortcut: If you have an eSIMStar account, open your account on the phone you're installing on. Each eSIM card has one-tap Install on iPhone and Install on Android buttons, so there's nothing to scan.
Install on iPhone
- Open Settings → Mobile (called Cellular in some regions).
- Tap Add eSIM, then Use QR Code.
- Scan the QR code from your email. If it won't scan, tap Enter Details Manually and copy in the SM-DP+ address and activation code (both are shown on your eSIM in your account).
- When asked, give the line a label such as Travel, so it's easy to tell apart from your home SIM.
- For Default Line, keep your home SIM. For Mobile Data, keep your home SIM for now too. You'll switch over when you land.
- Make sure Allow Mobile Data Switching is off, so your phone doesn't jump between lines.
- Tap the new Travel line and turn it off until you arrive.
When you land (iPhone)
- Go to Settings → Mobile and turn the Travel line on.
- Tap Mobile Data and choose Travel.
- Tap the Travel line and turn on Data Roaming.
- Tap your home line and make sure its Data Roaming is off, so your carrier can't charge you for data.
Give it a minute to find a network. You should see the signal bars and 4G or 5G next to your Travel line.
Install on Samsung Galaxy
- Open Settings → Connections → SIM manager.
- Tap Add eSIM, then Scan QR code from service provider.
- Scan your QR code and tap Add or Confirm.
- Rename the new eSIM to Travel if your phone offers it.
- Under Mobile data, keep your home SIM selected for now, and switch the Travel eSIM off until you land.
Install on Google Pixel and other Android phones
- Open Settings → Network & internet → SIMs.
- Tap Add SIM (or the + button), then Download a SIM instead? if prompted.
- Scan your QR code and follow the prompts.
- Leave the new eSIM switched off until you arrive.
Menu names vary a little between brands and Android versions. If you can't find them, search your Settings for eSIM.
When you land (Android)
- Turn the Travel eSIM on in your SIM settings.
- Set it as your mobile data SIM.
- Open the Travel eSIM's settings and turn on Roaming.
- Turn roaming off for your home SIM.
Why data roaming has to be on
It sounds backwards, but your travel eSIM connects to local networks as a roaming partner, so Data Roaming must be on for the eSIM line. This doesn't cost extra: you've already paid for the plan. It's your home SIM's roaming that should stay off.
Checking it's working
- You see signal bars next to the Travel line.
- Web pages and maps load with Wi-Fi turned off.
- Data usage for the Travel line starts counting in Settings → Mobile (iPhone) or your Android data usage screen.
If something isn't right, our eSIM troubleshooting guide covers the common fixes, or email [email protected] with your order number.